


Views: 243 Author: Holin Knife Publish Time: 2026-10-11 Origin: Site


Content Menu
● What Is a Snake Knot Knife Lanyard?
● Choose the Right Cord and Finished Length
>> Which Paracord Should You Use?
>> How Long Should the Finished Lanyard Be?
● How to Make a Snake Knot Lanyard for Your Knife
>> Step 1: Establish the Attachment Loop
>> Step 2: Form the First Snake Knot
>> Step 3: Dress the Knot Before Tightening
>> Step 4: Repeat the Pattern Consistently
>> Step 5: Test the Length Before Finishing
>> Step 6: Add a Bead If Required
>> Step 7: Trim and Finish the Ends
● Troubleshooting Common Snake Knot Problems
>> The Lanyard Spirals Unexpectedly
>> The Cord Does Not Fit the Hole
>> The Finished Lanyard Gets in the Way
● Inspect the Finished Knife Lanyard
● Manufacturer Insights: Designing Custom Knife-and-Lanyard Sets
>> Finished Dimensions and Appearance
>> Packaging and Use Instructions
>> 1. Is a Snake Knot Suitable for Beginners?
>> 2. How Much Paracord Does a Knife Lanyard Need?
>> 3. Can I Attach a Lanyard to Any Pocket Knife?
>> 4. Does a Knife Lanyard Prevent Dropping?
>> 5. Should I Use a Snake Knot or Cobra Knot?
>> 6. Can Knife Lanyards Be Customized for Bulk Orders?
A snake knot lanyard for your knife creates a textured pull tab that can make a pocket knife easier to locate and retrieve. It also offers a straightforward way to personalize your everyday carry. However, a useful knife lanyard needs more than attractive knots: it must fit the attachment point, suit your carry style, and stay clear of moving parts.
This guide explains how to make a paracord knife lanyard, select a practical length, troubleshoot uneven knots, and inspect the finished accessory. It also explores the design details that matter when developing custom knife-and-lanyard combinations for retail or private-label collections.
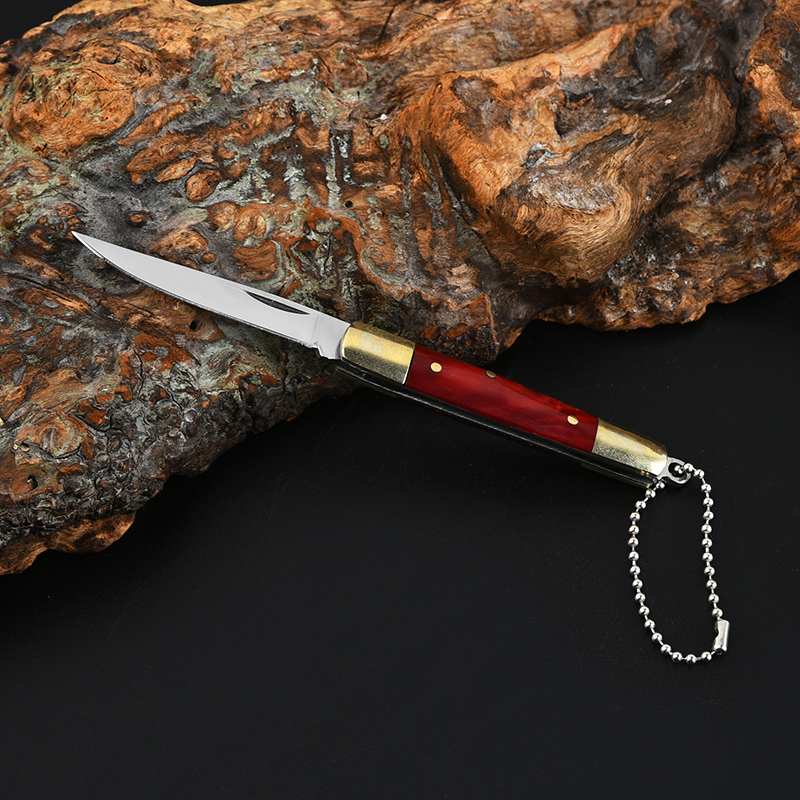
A snake knot lanyard consists of repeated, interlocking knots tied with two working strands. The resulting cord has a rounded, textured appearance rather than the broad, flat profile associated with a cobra weave.
For a pocket knife, its main purpose is usually to provide an accessible pull point. A short section can remain outside a pocket or pouch while the knife stays inside.
Its usefulness depends on the overall setup:
- A compact lanyard may help you locate a small knife.
- Contrasting cord can make the attachment easier to distinguish.
- A textured knot section provides a more substantial pull point than loose cord.
- Coordinated colors can complement a branded knife collection.
A decorative pull tab is not automatically a wrist-retention system. Neither should it be treated as a load-rated tether.
550 paracord is a common starting material for snake knot projects. However, the best cord is the one that fits your knife and produces the desired finished profile.
Check the actual lanyard opening before buying cord. A hole that accepts one strand may not accept two strands or a folded loop.
Thinner cord can suit compact pocket knives, while thicker cord creates a more substantial accessory. Neither option is universally better.
For commercial projects, specify cord diameter, material, color, and construction rather than relying on a general product name. Consistency matters when an approved sample becomes a production order.
For a short snake knot body, approximately 3–4 feet of cord is a practical starting allowance. This is not a fixed conversion formula.
Consumption changes with cord thickness, knot count, tension, attachment-loop size, and finishing method. Begin with extra working length and trim only after checking the finished shape.
For repeat production, make an approved sample first. Record its starting cord length, finished dimensions, and knot count instead of assuming every design uses the same amount.
For a pocket-knife pull tab, approximately 1.5–3 inches below the handle is a useful starting range, not a universal specification.
| Carry situation | Design direction | What to check |
|---|---|---|
| Small pocket knife | Short, lightweight pull tab | Avoid excessive bulk |
| Deep pocket carry | Accessible external section | Check visibility and snagging |
| Gloved handling | More pronounced texture | Test with the intended gloves |
| Knife stored in a pouch | Compact attachment | Confirm pouch closure |
| Custom retail collection | Standardized dimensions | Match the approved sample |
I would prioritize reliable access over decorative length. A longer lanyard is not necessarily a better one.
Prepare the following:
- Paracord with sufficient extra length
- Sharp scissors
- A ruler or measuring tape
- A blunt threading aid, if necessary
- An optional bead with a suitable bore
- A suitable heat source for compatible synthetic cord
- A heat-resistant work surface
Keep the knife closed throughout attachment and fitting. For a utility knife, retract the blade completely. If the blade cannot be safely enclosed, separate the knotting operation from the knife.
Inspect the attachment opening for rough edges. Do not force oversized cord through a narrow hole or improvise an attachment around a clip without evaluating interference.
Safety: Hot synthetic cord can burn skin. Heat-seal in a ventilated area, away from the knife handle and flammable materials. Never press softened cord with bare fingers.
Find the midpoint of a single length of cord.
Thread the cord through the designated lanyard opening and arrange two approximately equal working ends. Leave the desired attachment-loop length between the knife and the first knot.
If your intended construction uses a removable loop, confirm that it can actually pass over the required hardware. Not every finished lanyard can be removed without untying it.
Do not tighten anything permanently yet.
Label the working ends A and B mentally, or use contrasting cord colors while practicing.
1. Cross strand A over strand B.
2. Bring A behind B and back toward its own side, leaving an open loop.
3. Take strand B behind A.
4. Bring B around A and through the loop created by A.
5. Pull both working ends gently to bring the knot together.
The strands should interlock rather than form two separate overhand knots.
Because orientation can be difficult to follow in text, practice this first knot away from the knife. Compare the result with a reliable visual tutorial before continuing.
"Dressing" means arranging the strands into their intended positions before applying final tension.
Straighten twists, keep the crossings orderly, and bring the knot toward the attachment loop. Tighten gradually from both sides.
Avoid pulling one end sharply while leaving the other loose. Uneven tension can produce a distorted knot and make subsequent knots harder to align.
Continue forming snake knots with the same strand-routing method.
Some tutorials reverse the work between knots or loosen a previous loop to connect the next knot. Follow one complete method rather than mixing steps from different demonstrations.
After each knot:
- Check strand orientation.
- Remove unnecessary twists.
- Move the knot into position.
- Tighten progressively.
- Compare its shape with the previous knot.
Consistency produces a cleaner result than rushing to complete a predetermined number of knots.
Stop while sufficient working cord remains.
With the knife closed, place it in the intended pocket or pouch. Check whether the lanyard is accessible without being excessively exposed.
Confirm that it does not obstruct the pocket clip, opening mechanism, or blade path.
If it is too long, undo the last knots now. Corrections become more difficult after trimming and heat-sealing.
A bead is optional. Check its bore against the actual number of strands that must pass through it.
Position it so that it does not repeatedly strike the handle or create an uncomfortable lump during carry.
For a lightweight knife, consider whether a heavy bead adds unnecessary movement and bulk. Decorative appeal should not override comfortable handling.
Fully tighten and inspect the final knot before cutting.
A small tail allowance of approximately 3–6 mm is a common starting point for heat-sealed synthetic cord, although the appropriate finish depends on material and construction.
Use controlled heat only when the cord material is suitable. Allow the ends to cool completely before handling.
Heat-sealing limits fraying; it does not replace a properly secured knot.
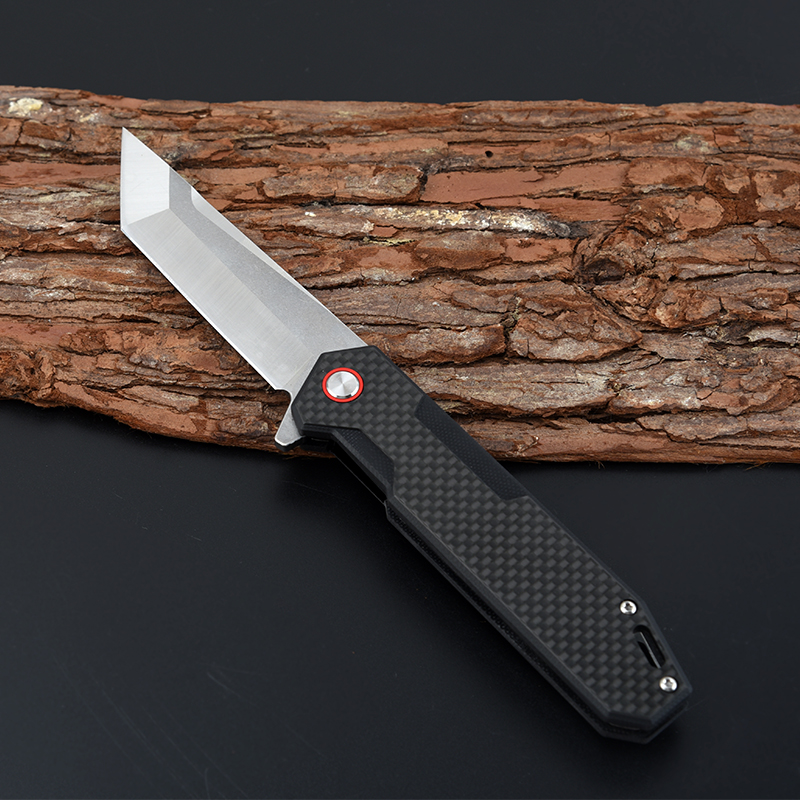
The likely causes are inconsistent tension, twisted strands, or different strand routing between repetitions.
Loosen the affected section, straighten the cord, and rebuild it slowly. Match the knot shape before tightening fully.
Unwanted spiraling may indicate inconsistent orientation or accumulated cord twist.
Lay the work flat and compare each crossing. Follow the turning instructions of your chosen tutorial rather than rotating the work randomly.
The original allowance may be insufficient for the chosen knot count, loop size, or tension.
For a clean knife accessory, restarting with more cord is generally preferable to adding an unplanned join.
Use an appropriately thinner cord or revise the attachment design.
Removing the internal strands changes the cord's construction and handling characteristics. Do not assume a modified cord retains the properties of the original product.
Reduce its length, remove unnecessary hardware, or reconsider the attachment position.
A lanyard that interferes with normal operation is unsuitable, even if the knotting looks excellent.
Before regular use, inspect the complete knife-and-lanyard assembly.
1. Examine the attachment point for roughness or abrasion.
2. Apply a controlled hand pull and look for knot movement.
3. Check that the finished ends are cool and secure.
4. Test pocket or pouch placement with the blade enclosed.
5. Confirm that cord cannot enter the blade path.
6. Evaluate opening and closing only in a controlled, clear area.
A hand-pull check is a practical inspection, not a certified strength test.
Recheck the cord periodically for fraying, cuts, loose knots, or damage near the attachment hole. Replace damaged cord rather than disguising wear with decorative hardware.
Avoid loose lanyards around machinery or other environments where snagging creates a hazard.
A lanyard should be developed alongside the knife, not simply added after the handle design is finalized.
From a product-development perspective, three details deserve particular attention.
The opening must accommodate the intended cord configuration. Edge finishing also matters because the attachment point repeatedly contacts the cord.
Specify the actual threading arrangement, not just the hole diameter.
An approved sample should establish:
- Attachment-loop length
- Knotted-body length
- Cord specification and color
- Knot count and visual consistency
- Bead position, if applicable
- Tail-finishing method
These details make supplier communication more precise and reduce ambiguity during inspection.
Packaging should avoid awkwardly bending the lanyard or concealing how it attaches.
Useful instructions should explain fitting, inspection, and safe handling without implying that a decorative accessory is certified protective equipment.
Yangjiang Holin Industrial Co., Ltd. specializes in folding knives, pocket knives, utility knives, and outdoor tools. With its own research and development team and production factory, the company offers OEM/ODM support covering product design, development, and bulk manufacturing.
For a proposed knife-and-lanyard collection, provide the target knife design, cord preferences, intended carry method, packaging concept, and order requirements. Confirm accessory scope, specifications, and acceptance criteria during development.
A well-made snake knot lanyard balances appearance, accessibility, and compatibility. Start with suitable cord, build consistent knots, and check the entire assembly before trimming the ends.
For branded collections, treat the lanyard as part of the product specification. Contact Yangjiang Holin Industrial Co., Ltd. with your knife concept, customization requirements, and target order quantity to discuss an OEM/ODM development plan.
Yes, but the first knot and strand orientation require attention. Practice with contrasting colors and follow one visual method consistently before attaching the finished work to a knife.
Approximately 3–4 feet is a practical starting allowance for a short snake knot body. Actual consumption depends on the design. Record the cord usage of an approved sample for repeat production.
No. Check for a suitable attachment point and adequate clearance. A decorative hole or pocket clip should not automatically be treated as an appropriate lanyard anchor.
A short pull tab may make retrieval easier, but it does not guarantee retention. Its effectiveness depends on attachment, condition, design, and handling.
Choose a snake knot for a rounded, textured profile. A cobra weave produces a flatter, broader shape. Compare both against the available attachment space and intended carry position.
Custom projects can define color, dimensions, beads, and packaging. Confirm the manufacturer's accessory capabilities and approve a representative sample before committing to production.
1. [Blade HQ — "How to: Make a Snake Knot Lanyard for Your Knife"]. Published April 14, 2025. Original topic and beginner-oriented positioning. The complete page and its comments could not be retrieved; no quotations or comment-based claims are attributed to it. [bladehq]
2. [Paracord Planet — "Snake Knot Tutorial"]. Specialist visual tutorial; identifies 550 paracord or equivalent and basic finishing tools. [paracordplanet]
3. [Noblie — "How to Tie a Knife Lanyard: Paracord, Beads & Knots"]. Practical starting allowances for cord length, finished pull-tab length, and tail finishing. These are presented as starting points rather than universal specifications. [nobliecustomknives]
4. [Noblie — "Paracord Lanyard Guide: Knots, 550 Cord & Knife Lanyards"]. Cord-consumption variability, attachment planning, bead placement, and knot-style comparison. [nobliecustomknives]
5. [Instructables — "Paracord Wrist Lanyard Made With the Snake Knot"]. Repeated-knot construction, work orientation, and cord finishing. Its wrist-lanyard measurements are not applied directly to the shorter pull-tab design here. [instructables]
6. [The Bushcraft Store — "How to Make a 'Snake Knot' and 'Box Knot' Knife Lanyard"]. Scissor use, ventilation, heat-sealing precautions, and warnings about burns from hot cord. [youtube]


